 EN
EN

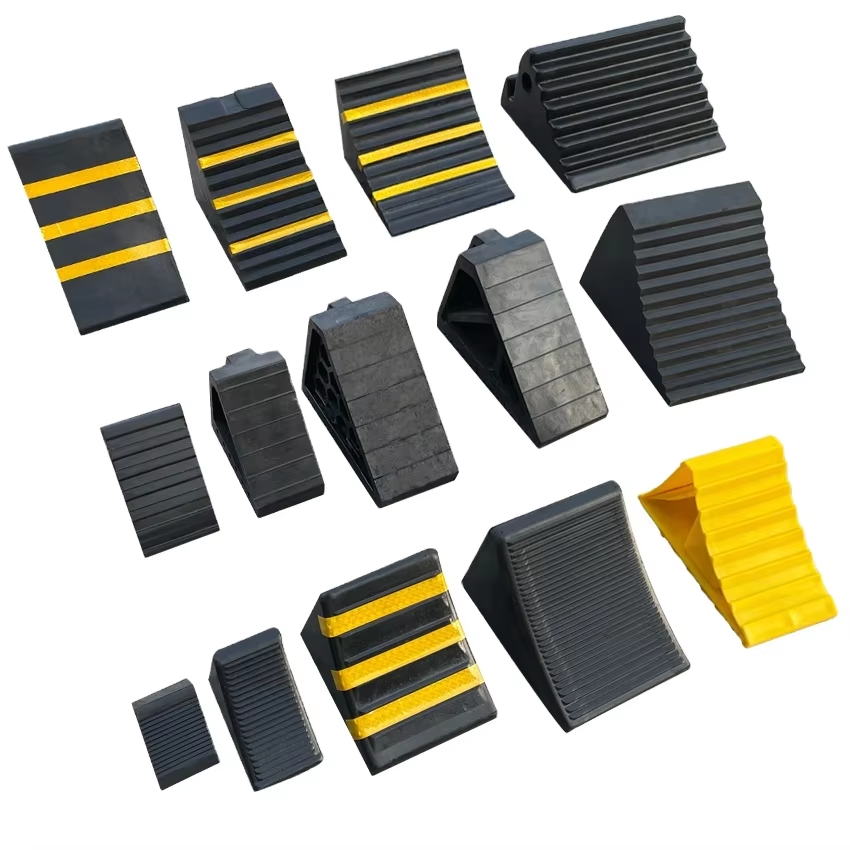
Proper vehicle immobilization is critical in trucking, logistics, and industrial operations where unintended vehicle movement can cause serious injury, property damage, or costly downtime. A wheel chock is one of the most essential and cost-effective tools for preventing unwanted motion of trucks, trailers, and heavy equipment when parked or stationary. Understanding how to use a wheel chock safely ensures that your fleet remains secure and your team stays protected from preventable accidents. This guide provides practical, actionable instructions for deploying wheel chocks effectively across different vehicle types and operational scenarios.
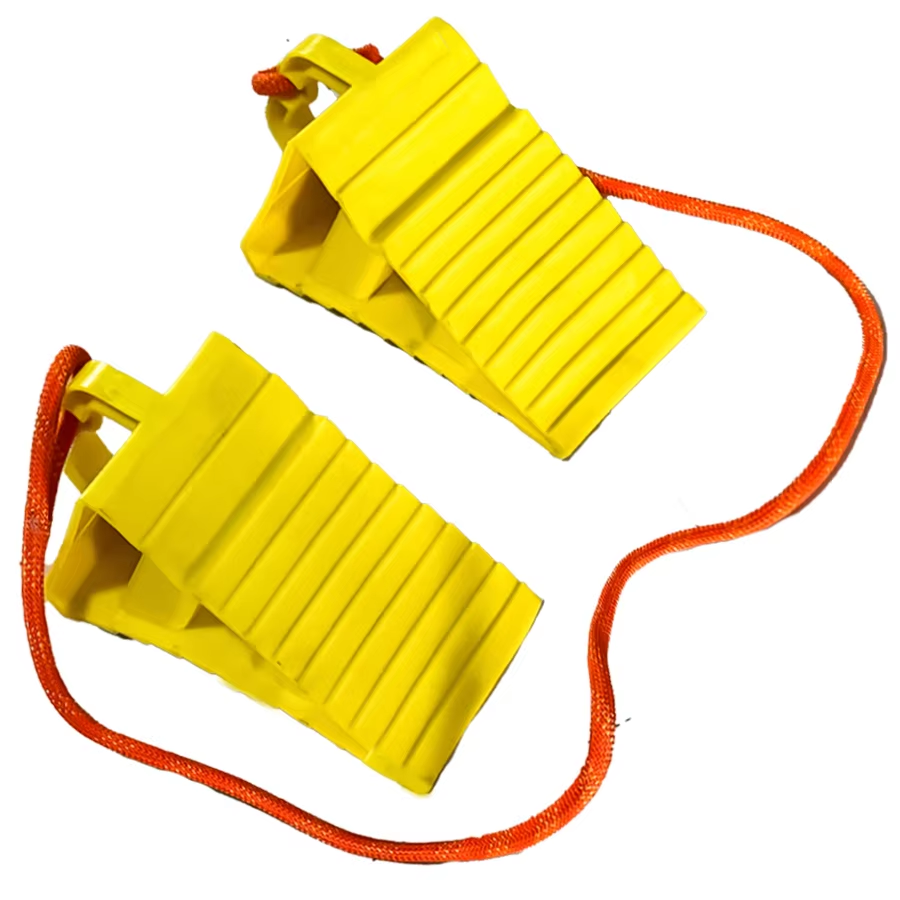
Heavy duty wheel chocks are engineered to withstand the weight and force of large vehicles, making them indispensable for operations involving tractor-trailers, dump trucks, flatbeds, and commercial trailers. Whether you manage a logistics fleet, operate a construction site, or maintain industrial equipment, knowing the correct wheel chock deployment method protects both personnel and assets. The following sections detail selection criteria, proper installation techniques, and safety best practices for using a wheel chock in real-world conditions.
Selecting and Positioning a Wheel Chock Correctly
Understanding Wheel Chock Specifications and Weight Ratings
Not all wheel chocks are created equal. Heavy duty wheel chocks are rated by their holding capacity, material composition, and compatibility with specific vehicle types. Before purchasing or deploying a wheel chock, verify that its rated capacity exceeds your vehicle's total weight and accounts for dynamic forces such as trailer tongue weight or uneven load distribution. A wheel chock designed for light-duty pickup trucks will fail catastrophically when used on a fully loaded semi-trailer. Always cross-reference the wheel chock manufacturer's specifications against your vehicle documentation to ensure proper matching.
Identifying the Correct Installation Angle and Position
Proper wheel chock placement depends on tire size, wheelbase geometry, and vehicle type. The wheel chock must be positioned directly against the tire tread, not under the rim or sidewall, to transfer braking force through the wheel's contact patch. For tractor-trailers and large trailers, position the wheel chock perpendicular to the direction of potential vehicle roll, ensuring that the wedge shape redirects forward or backward motion into downward pressure. On sloped terrain, a wheel chock positioned on the downhill side becomes far more critical because gravity amplifies the force trying to move the vehicle downslope. Always use multiple wheel chocks on dual-wheel axles, positioning one against each inner and outer tire for balanced load distribution.
Deployment Procedures and Safety Protocols
Step-by-Step Wheel Chock Deployment for Trucks and Trailers
Begin by assessing the parking surface for soft earth, gravel, or deteriorated asphalt that could compress under vehicle weight and reduce wheel chock effectiveness. Place the wheel chock approximately six to twelve inches ahead of the tire, depending on tire diameter and wheel chock height, then back the vehicle carefully until the tire firmly contacts the wheel chock wedge. The wheel chock should be snug against the tire tread with no visible gap, meaning the tire itself is making full contact with the wedge face. For trailers, repeat this process on both drive wheels and trailer wheels, never relying on a single point of contact. After positioning, verify that brake lines and supply lines are not pinched or damaged by the wheel chock or its eyebolts.
Inspecting and Securing Wheel Chocks on Hillsides and Uneven Surfaces
Hillside parking and uneven terrain demand more aggressive wheel chock deployment and often require additional securing methods. If your wheel chock features eyebolts or lashing points, secure the wheel chock to the vehicle frame or chassis using safety cables or straps to prevent rollout if the tire pressure changes or the vehicle shifts during loading and unloading operations. Heavy duty wheel chocks with eyebolts are specifically designed for these high-risk scenarios. On steep slopes, consider using wheel chocks on both the uphill and downhill sides of the same axle for redundant safety. Always apply the parking brake, engage a low gear or park position, and use wheel chocks simultaneously rather than relying on any single restraint method.
Maintenance, Inspection, and Operational Best Practices
Regular Inspection and Replacement Criteria for Wheel Chocks
A wheel chock maintains its effectiveness only if regularly inspected for wear, cracks, material degradation, and deformation. Rubber deterioration from UV exposure, temperature cycling, and chemical exposure can reduce a wheel chock's load-bearing capacity over time. Inspect the wedge face for material loss, the eyebolt threads for corrosion, and the base for permanent deformation or compression that indicates structural compromise. Replace a wheel chock immediately if you observe visible cracking, permanent shape distortion, or loss of rubber material covering more than half the wedge face. Maintaining a spare heavy duty wheel chock on every truck allows operators to rotate units and extend fleet service life while ensuring backup equipment availability.
Training, Documentation, and Safety Culture
Operator training is as important as equipment selection. Every driver and yard worker must understand when and how to use a wheel chock, recognize when a wheel chock is unsuitable for a particular surface or vehicle, and report damaged or missing equipment to maintenance personnel immediately. Create clear, visual documentation showing correct wheel chock deployment for your fleet's most common vehicle types, then require all operators to acknowledge understanding before gaining lot access. Many industrial accidents involving vehicles rolling downslope or drifting into adjacent equipment result from a single operator skipping the wheel chock step or misplacing it. Strong safety culture, combined with proper equipment maintenance and consistent training, prevents these incidents from occurring.
FAQ
How many wheel chocks do I need to safely immobilize a truck or trailer?
The minimum standard is one wheel chock per side of the vehicle, but best practice calls for a wheel chock placed against every tire or, at minimum, one wheel chock for each powered axle. Tractor units typically require two wheel chocks, while loaded trailers benefit from four wheel chocks deployed on both steer and drive axles. Always verify your company's safety policy and local regulations, as some jurisdictions mandate specific wheel chock quantities based on vehicle class and parking location.
Can I use a wheel chock on a sloped driveway or hillside parking area?
Yes, but with critical modifications. Position the wheel chock on the downslope side of the vehicle and use a heavy duty wheel chock with eyebolts rated for your vehicle's weight. Secure the eyebolt to the vehicle frame using a cable or strap, and verify that the parking brake and transmission lock are engaged. Many accidents occur because operators assume parking brakes alone prevent rollout on slopes; combining a wheel chock, parking brake, transmission lock, and securing strap provides defense-in-depth protection.
How often should I inspect and replace my fleet's wheel chocks?
Inspect all wheel chocks monthly or after every 50 to 100 hours of deployment, whichever comes first. Heavy duty wheel chocks typically last two to five years depending on climate, storage conditions, and usage intensity. Rubber deterioration accelerates in extreme heat or cold, direct sunlight, and exposure to petroleum products or road salt. Establish a replacement schedule based on your climate zone and review damaged or deformed units with your equipment supplier to understand failure modes and adjust purchasing specifications if necessary.