 EN
EN

Effective traffic management and cone placement practices form the foundation of safe work zones and successful event management. Whether you're managing roadwork, construction sites, or special events, proper traffic management and cone placement directly impact public safety, traffic flow efficiency, and liability protection. Poor traffic management and cone placement decisions can lead to accidents, congestion, and operational inefficiencies that disrupt both workers and the public. Understanding the principles of professional traffic management and cone placement helps organizations reduce risks while maintaining smooth operations in high-traffic areas.
Traffic management and cone placement requires careful planning, adherence to safety standards, and continuous monitoring throughout operations. The objective is to create clear visual boundaries, guide traffic safely around hazards, and maintain predictable flow patterns that protect workers, equipment, and the traveling public. Successful traffic management and cone placement combines strategic positioning, proper spacing, high-visibility materials, and documented maintenance routines. This comprehensive guide explores established best practices for traffic management and cone placement that help organizations meet regulatory requirements and achieve safety excellence.
Foundational Principles of Traffic Management and Cone Placement
Understanding Zone Classification and Hazard Assessment
Traffic management and cone placement begins with accurate classification of the work zone or event area. Different scenarios demand different approaches to traffic management and cone placement because hazard levels, traffic volumes, and operational durations vary significantly. A temporary pothole repair, a multi-day construction project, and a large outdoor festival each require distinct traffic management and cone placement strategies. Before implementing any traffic management and cone placement scheme, conduct a thorough hazard assessment that identifies traffic patterns, vehicle speeds, pedestrian activity, sight lines, and weather exposure. This assessment informs the scale, spacing, and material choices that make your traffic management and cone placement effective and compliant with relevant safety standards.
Regulatory Compliance and Safety Standards
Traffic management and cone placement must comply with federal, state, and local regulations governing work zone safety and temporary traffic control. Standards such as the Manual on Uniform Traffic Control Devices (MUTCD) provide detailed specifications for traffic management and cone placement configurations, reflectivity levels, spacing intervals, and signage requirements. Proper traffic management and cone placement in compliance with these standards provides legal protection and ensures that drivers receive consistent, predictable guidance. Organizations implementing traffic management and cone placement without reference to these standards risk fines, liability exposure, and reduced safety outcomes. Consulting current regulations before designing your traffic management and cone placement system ensures consistency with professional safety expectations.
Strategic Cone Placement and Layout Design
Spacing, Taper Length, and Buffer Zones
Proper traffic management and cone placement depends critically on appropriate spacing between cones and correct taper lengths that guide traffic gradually into restricted lanes. The spacing for traffic management and cone placement typically ranges from 6 to 10 feet on high-speed roads and 4 to 6 feet on urban streets, adjusted based on traffic speed and volume. Taper length—the distance over which traffic management and cone placement transitions from normal to restricted flow—should follow the formula of approximately 100 feet for every 10 miles per hour of traffic speed. Buffer zones created through strategic traffic management and cone placement separate workers and equipment from moving vehicles by maintaining adequate distance. This disciplined approach to traffic management and cone placement creates natural deceleration zones that reduce collision risk and give drivers adequate warning to adjust their paths safely.
Multi-Lane and Complex Intersection Placement
Traffic management and cone placement in multi-lane environments or at intersections demands extra attention to clarity and driver comprehension. When traffic management and cone placement spans multiple lanes, each lane boundary must be marked consistently with clearly spaced cones that form obvious visual channels. Traffic management and cone placement at intersections should begin earlier than typical lane work zones because drivers need more time to process complex geometry and make routing decisions. Advanced traffic management and cone placement diagrams should be reviewed by all personnel before work begins to ensure team alignment on the intended traffic flow pattern. Professional traffic management and cone placement in these scenarios often incorporates additional signage, lighting, and spotters to reinforce the intended path and respond to real-time traffic dynamics.
Materials, Visibility, and Maintenance Standards
Cone Selection and Reflective Properties
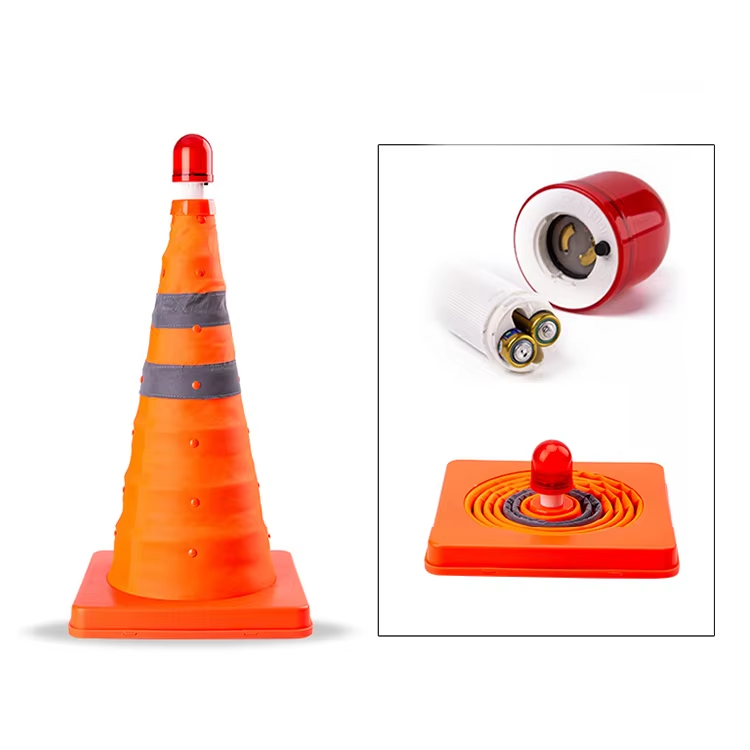
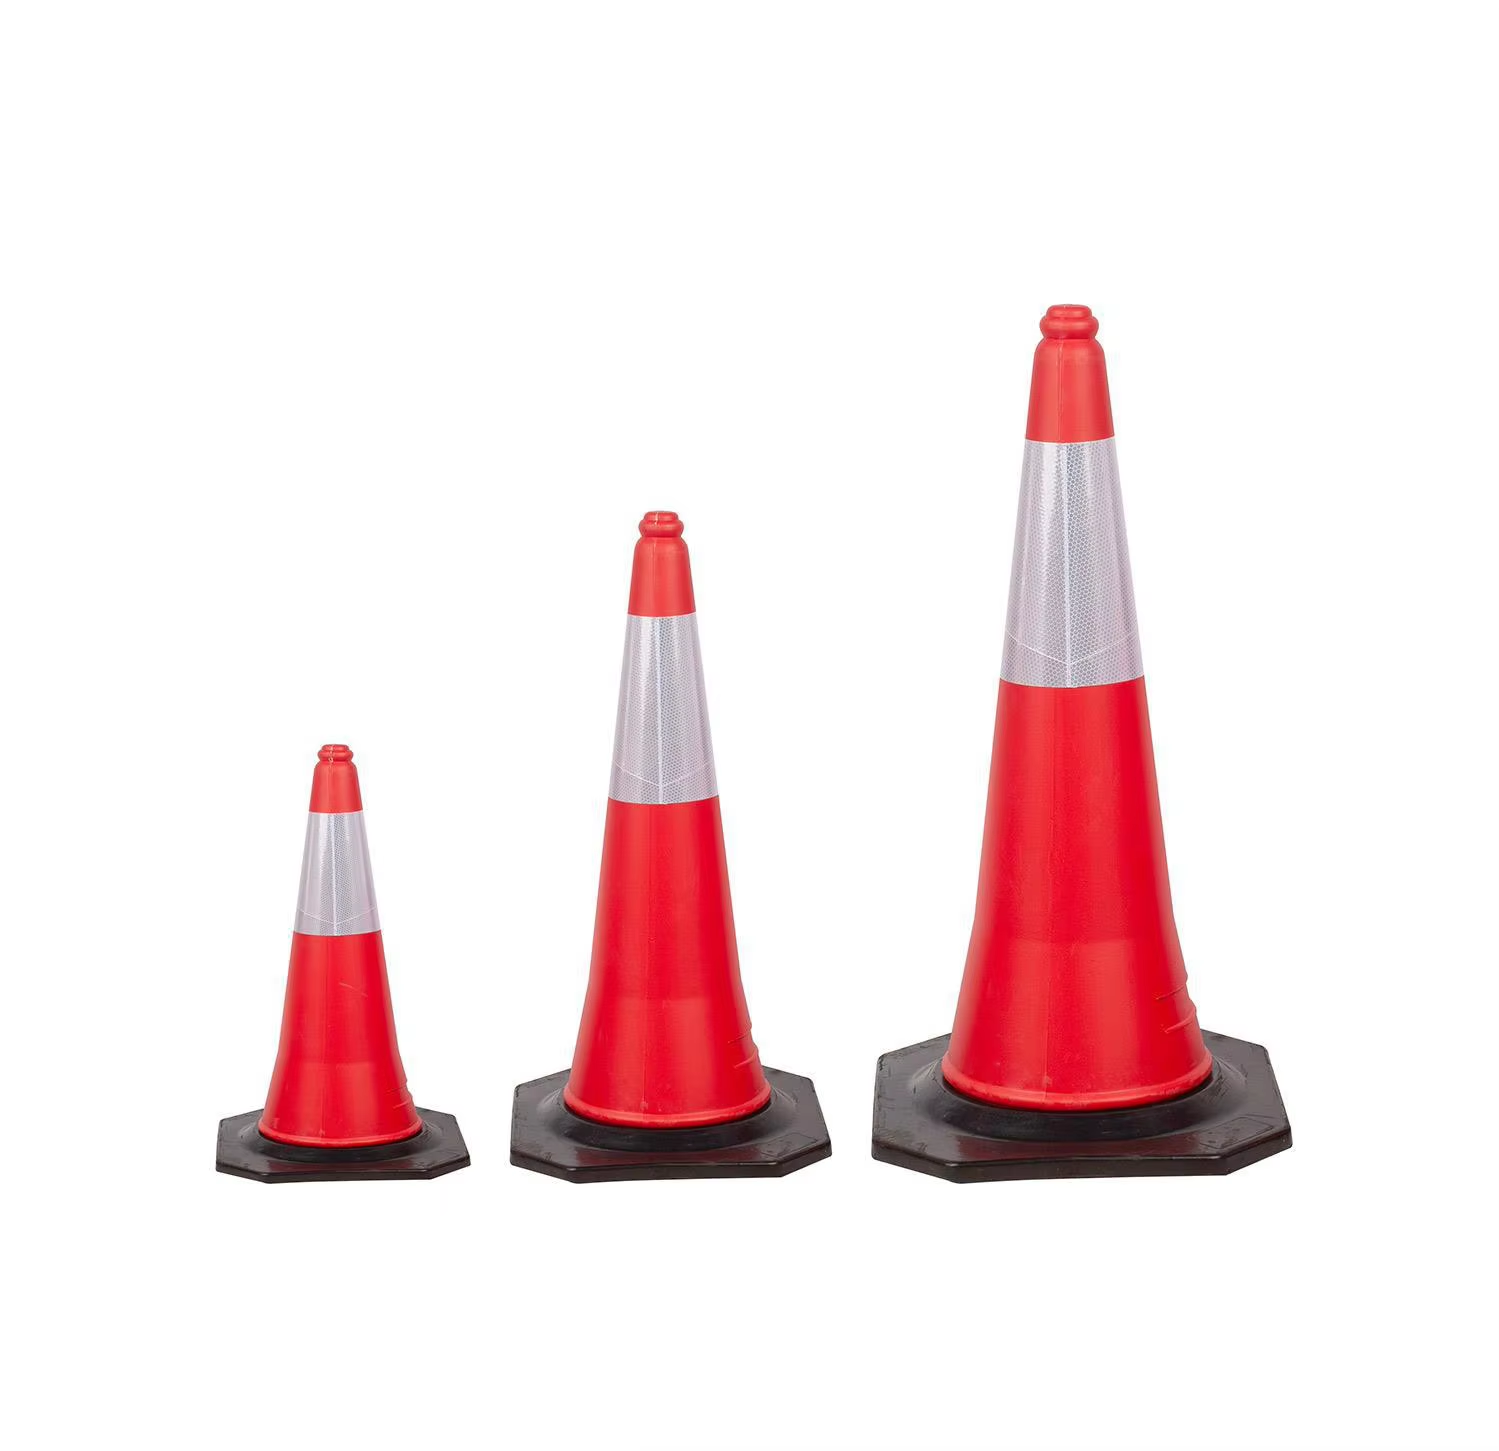
Selecting appropriate cones for your traffic management and cone placement application ensures visibility across different lighting conditions and weather scenarios. High-quality cones used in traffic management and cone placement feature retroreflective sleeves or base coatings that reflect light from vehicle headlights during dawn, dusk, and night operations. Traffic management and cone placement cones should be durable, UV-resistant, and capable of withstanding repeated impact and environmental exposure without deteriorating. Bright orange cones with white reflective stripes remain the standard for traffic management and cone placement because this color combination provides maximum visibility contrast against most backgrounds. The height of traffic management and cone placement cones—typically 10 to 36 inches—must be sufficient for drivers to see the boundary from a safe following distance, especially on higher-speed roads where traffic management and cone placement requires earlier visual cues.
Maintenance and Real-Time Monitoring
Traffic management and cone placement success depends on continuous maintenance and responsiveness to changing conditions throughout the work period. Damaged, faded, or displaced cones undermine your traffic management and cone placement effectiveness and create safety gaps that drivers may exploit. Establish a regular inspection schedule for your traffic management and cone placement system, ideally checking conditions every two hours or after significant weather changes. Personnel assigned to traffic management and cone placement monitoring should have clear authority to replace or reposition cones immediately when defects are detected. During extended operations, traffic management and cone placement maintenance becomes a dedicated responsibility that prevents degradation and maintains consistent messaging to drivers throughout the project duration.
Implementation Checklist and Operational Excellence
Pre-Operation Setup and Communication
Successful traffic management and cone placement requires coordinated setup that follows a documented checklist and involves clear communication among all team members. Before deploying traffic management and cone placement, verify that all personnel understand the traffic flow pattern, their specific roles, and emergency procedures. Traffic management and cone placement setup should begin well before the work zone becomes active, allowing sufficient time to install all cones, signage, and lighting without rushed decisions. Conduct a final walk-through of your traffic management and cone placement layout from a driver's perspective to verify sight lines, cone visibility, and logical flow. Document your traffic management and cone placement configuration through photographs or diagrams that serve as reference materials for consistency across multiple shifts or days of operation.
Weather Adaptations and Seasonal Considerations
Traffic management and cone placement strategies must adapt to seasonal weather patterns and environmental conditions that affect visibility and driver behavior. Winter weather requires additional attention to traffic management and cone placement visibility because snow cover, reduced daylight, and reduced traction alter driver perception and reaction times. Windy conditions may require weighted or tethered cones for traffic management and cone placement to prevent displacement that creates confusion. Traffic management and cone placement in wet conditions should incorporate enhanced lighting because wet road surfaces reduce reflectivity and driver sight distances. Regular review and adjustment of your traffic management and cone placement approach based on actual operational experience and weather performance ensures continuous improvement and maintains safety as conditions evolve.
FAQ
What is the standard spacing requirement for traffic management and cone placement?
Standard traffic management and cone placement spacing typically ranges from 6 to 10 feet on high-speed roads and 4 to 6 feet on urban streets, though this varies based on traffic speed, road conditions, and specific regulations. Your traffic management and cone placement spacing should be calculated to provide drivers with continuous visual guidance without excessive cone density that obscures the roadway. Consult the MUTCD and local transportation authorities for specific traffic management and cone placement requirements in your jurisdiction, as standards may differ based on road classification and work zone duration.
How does lighting affect traffic management and cone placement during nighttime operations?
Nighttime traffic management and cone placement requires retroreflective cones and supplemental lighting to ensure adequate visibility when natural light is absent. Traffic management and cone placement cones with high-quality retroreflective sleeves reflect vehicle headlight beams effectively, but additional lighting—such as arrow boards or impact attenuators with lights—enhances visibility for traffic management and cone placement in low-light conditions. Proper traffic management and cone placement at night should provide visibility at distances matching typical nighttime following distances, usually 200 to 300 feet depending on speed limits and road conditions.
When should traffic management and cone placement be adjusted or reconfigured?
Traffic management and cone placement should be inspected and adjusted whenever conditions change, including after weather events, following traffic incidents, or when work scope expands or shifts. Regular traffic management and cone placement reviews—ideally every two hours—help identify displaced, damaged, or faded cones that compromise safety effectiveness. Significant changes to traffic management and cone placement configuration should include updated signage and personnel briefing to ensure clear communication of the new traffic flow pattern to all drivers and team members.